


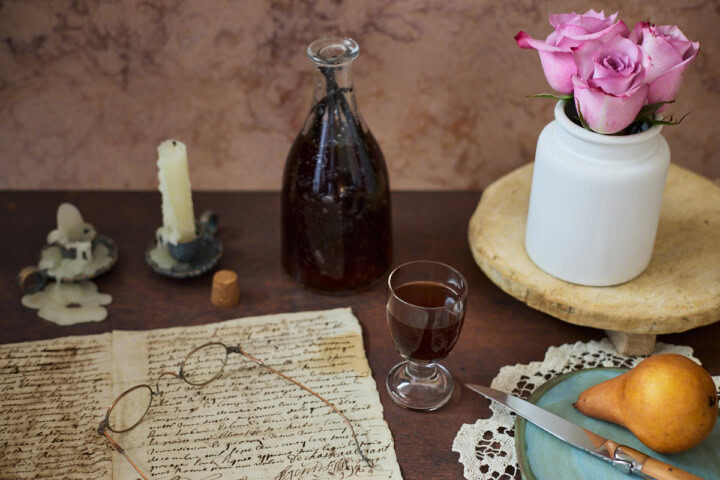
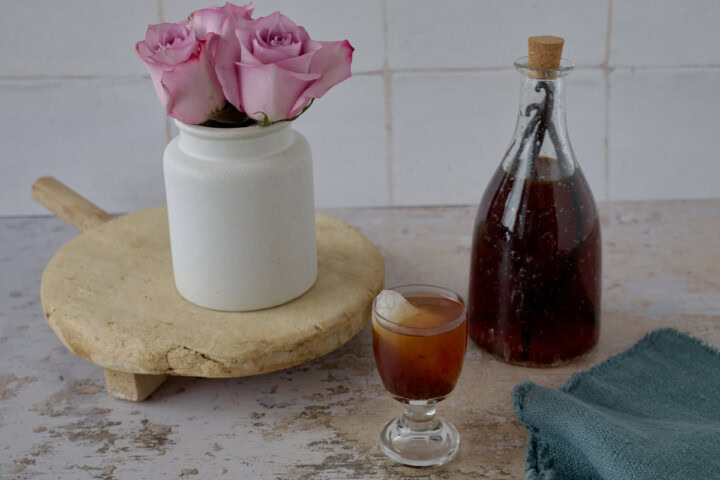


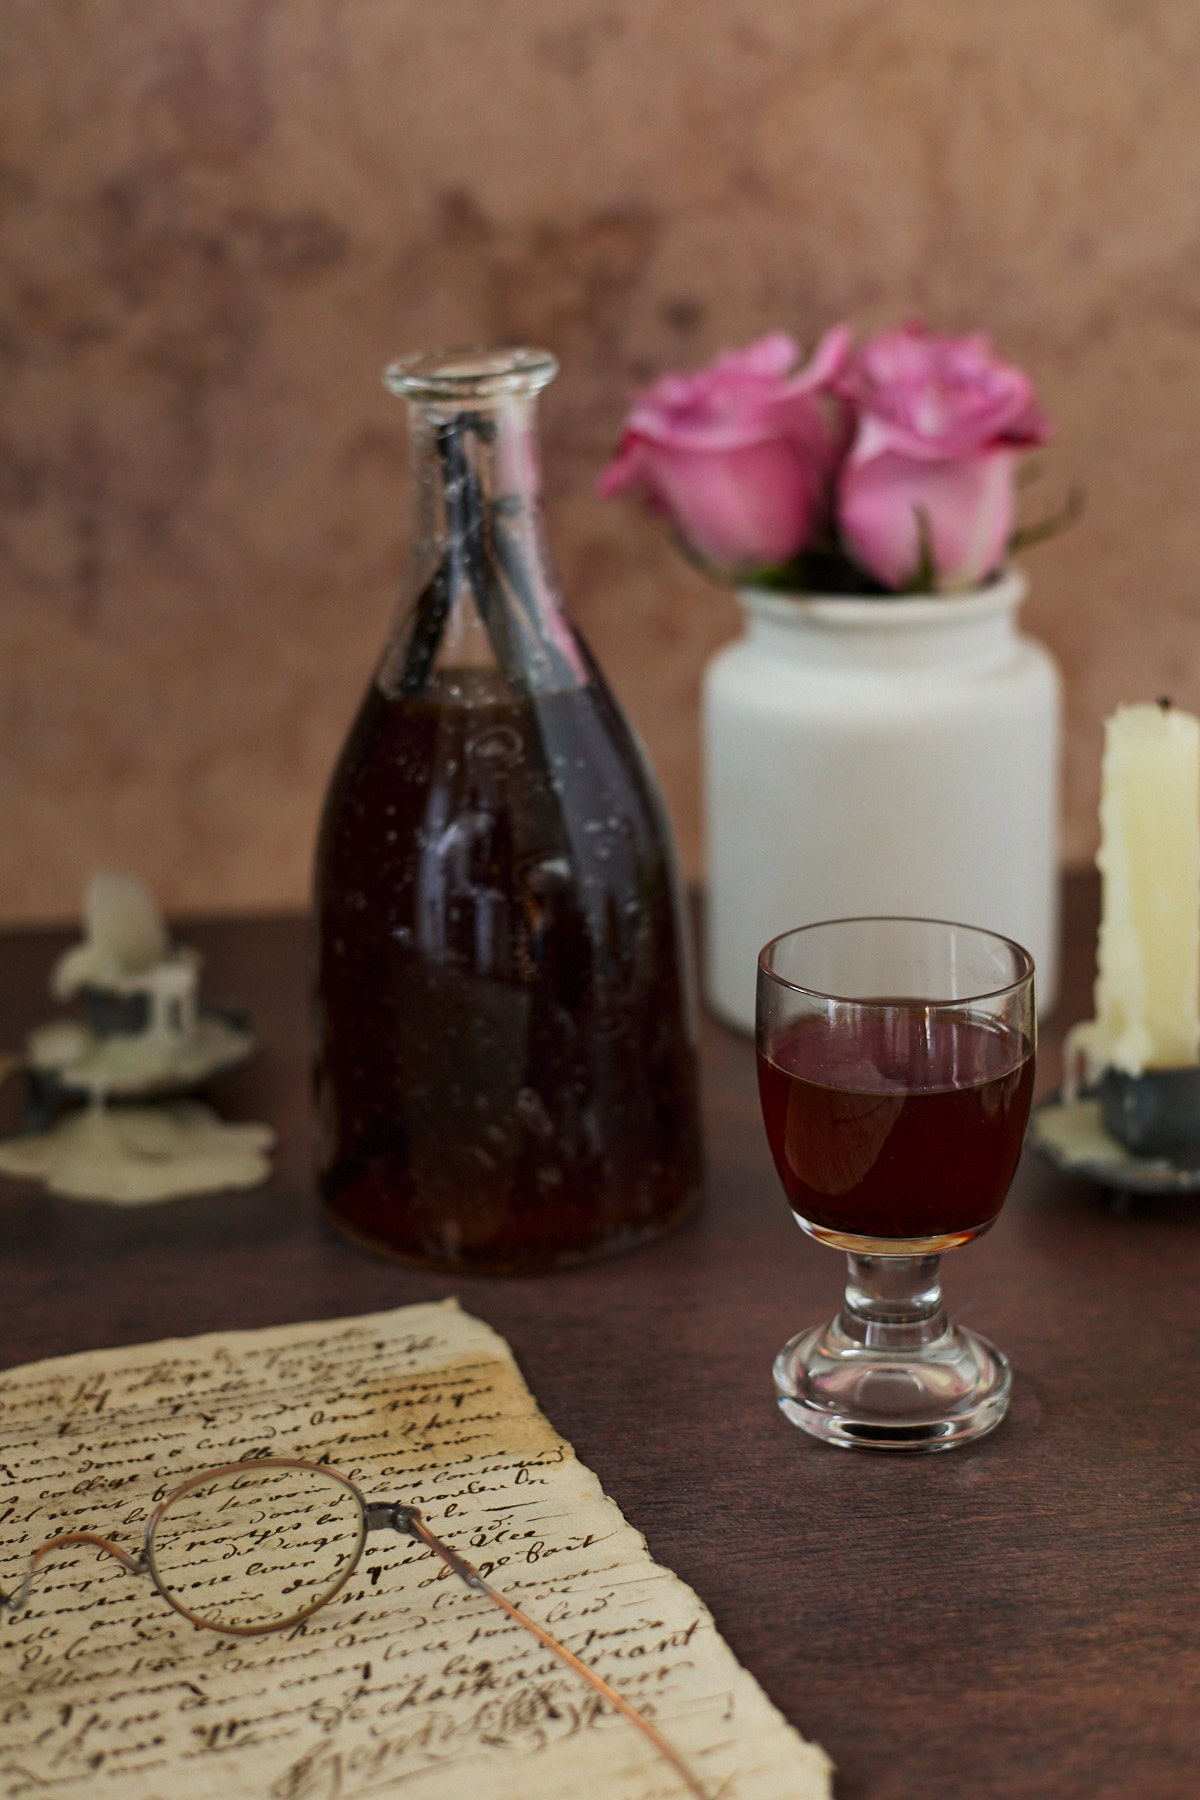
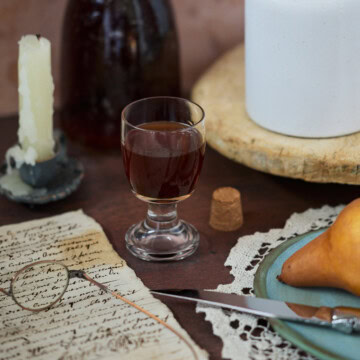
Vanilla is one of the most elegant and beloved botanical flavors in all the world. And I've captured it here in a bottle for you to savor and enjoy with friends and family. This "fait maison" (homemade) French vanilla bean liqueur is luscious, deeply-aromatic, and a pure joy to sip. It's simple to make, with only vanilla beans, sugar, and vodka, and develops its enchanting flavors all on its own during a long steep of at least 3 months. It's beyond worth the wait.
My previous batch of this inviting liqueur that I made 16 years ago is sadly almost gone. It stays good indefinitely, and it only improves with age. We're down to savoring the last few drops, so I knew it was definitely time to make more. I hope you'll adore this Liqueur de Vanille Fait Maison (Vanilla Bean Liqueur) as much as we do!

Origin
Vanilla is native to Mexico and Central and South America. It was first raised by the Totonac people and later adopted by the Aztecs before being introduced to Europe by the Spanish in the 16th century. Today this legendary flavor is cherished throughout the world.
From an orchid
Vanilla beans are the pod of the orchid Vanilla planifolia. Pollination of the flowers in the wild is done by bees. But in cultivation, because of the flower's structure, it must be done by hand. The flowers are only open for one day, and are best-pollinated on that specific morning. The beans then take 9 months to mature. Since these pods don't ripen at the same time, the crop must be checked and harvested daily. Then the curing of the beans can take another 6 months. Thankfully, all of this effort is worth giving us one of the most beloved flavors in the world.
Best growing regions
Vanilla orchids grow in warm and tropical climates, favoring regions near the equator. Today, most of the world's vanilla is grown in places such as:
- Madagascar (Bourbon vanilla): The dominant producing area, and widely considered the standard for flavor
- Indonesia: A large producer, with beans of a slightly woody note
- Mexico: The birthplace of vanilla, with spicy, complex flavors
- Tahiti (French Polynesia): A different species of vanilla, Vanilla × tahitensis, with a floral and fruity aroma
- Uganda, Papua New Guinea, and others: Several regional variations and flavors
Jump to:
- 💕Why this recipe is special
- 📓Ingredient notes for vanilla bean liqueur
- 📒Step by step instructions & photos
- 💡Tips for success
- 🥣Equipment
- ⏲Make ahead and storage
- 🍲Serving suggestions
- 🥃More homemade liqueurs to try
- ❓FAQ
- ✨More cooking and gardening posts you'll love
- Liqueur de Vanille Fait Maison (Vanilla Bean Liqueur)
💕Why this recipe is special
Authentic, high-quality organic vanilla bean flavor
This homemade liqueur de vanille is made from whole Madagascar Bourbon vanilla beans, using both the flavorful pods and seeds to slowly lend their flavor to this elegant drink. This liqueur is such a delight to sip and savor. It's deep, warm, intensely aromatic, nuanced, and sweet. Our family has been sharing this captivating drink with friends for years, and everyone adores it.
Balanced "crème" liqueur sweetness
This term doesn't mean it contains cream! This recipe is naturally plant-based. A crème liqueur in France is one that is sweetened, typically within the range of around 12-25% sugar by weight. My vanilla bean liqueur has a sugar content of 14% by weight, which brings out the deep, round botanical flavors of the vanilla without being overly sweet and cloying.
I've had my family taste this recipe multiple times (thankfully, I didn't have to try too hard!) with varying amounts of sugar, and this recipe is the quantity that we've all felt was just right. We really love the balance.
Smooth, small-batch artisanal sipping
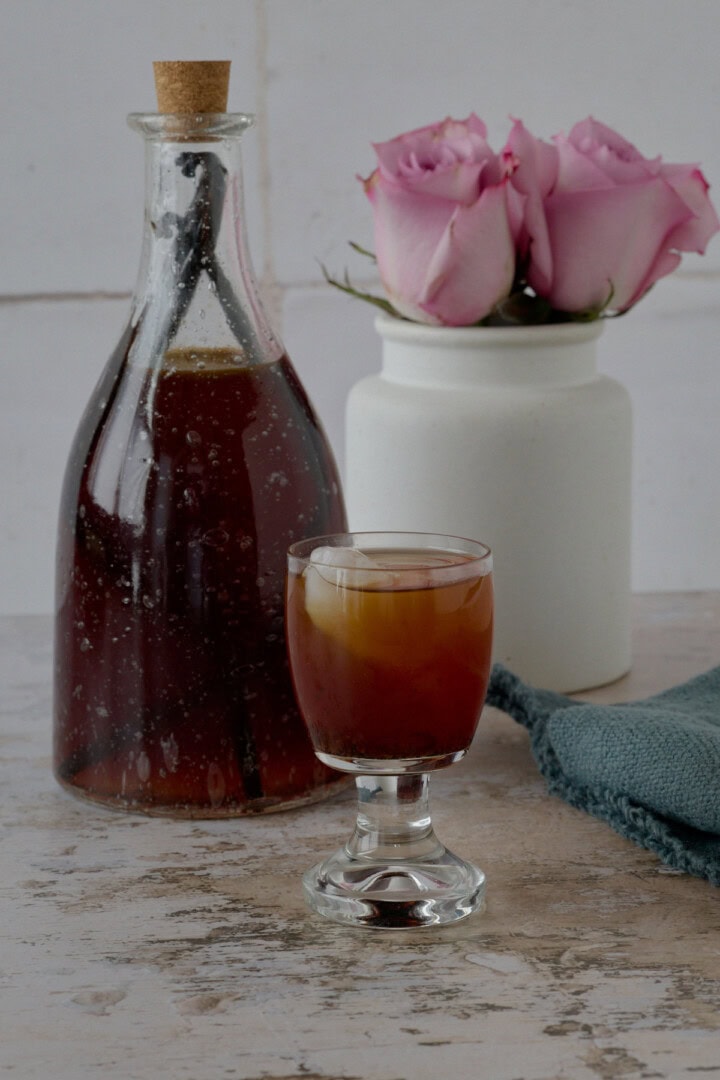
Creating this drink in small batches by hand makes all the difference in the alluring quality of this special liqueur. The long steep (with a minimum of 3 months, and full development by around 12 months) softens the edge of the alcohol and allows the captivating vanilla bean flavor to fully permeate the drink. The result is a gorgeously smooth and fragrant liqueur to savor at the end of a meal or alongside a simple dessert. Each bottle retains the visible seeds and lovely character of the beans.
Improves with age
Once the flavor is developed in this crème de vanille, it will keep indefinitely. And after several months, the aroma becomes intensely floral, with subtle woody and caramel notes. My previous batch from 16 years ago is absolutely luxurious now, and it's almost gone. I make mine in three separate small batches of 5-liter jars each, so this gives me 15 bottles to age and savor with friends and family over many years. And while high quality vanilla beans can be expensive, I find it more economical to buy enough of them at a time to make them more affordable.
📓Ingredient notes for vanilla bean liqueur
- Vodka: Use a clean, neutral-flavored vodka at 80-proof (40% ABV). It doesn't have to be an expensive variety, as the vanilla and sugar will really build up the flavor of the finished liqueur. Just make sure that the vodka you use is one that you feel is a good enough quality to drink. The final alcohol content of this liqueur will be approximately 34-36% ABV, depending upon the vanilla bean absorption and final volume.
- Granulated sugar: This recipe uses granulated sugar here instead of a simple syrup. We don't want to dilute the strength of the alcohol or the level of flavor. The sugar will dissolve within the liqueur while it's steeping, making the process simpler and giving the finished liqueur more character and texture.
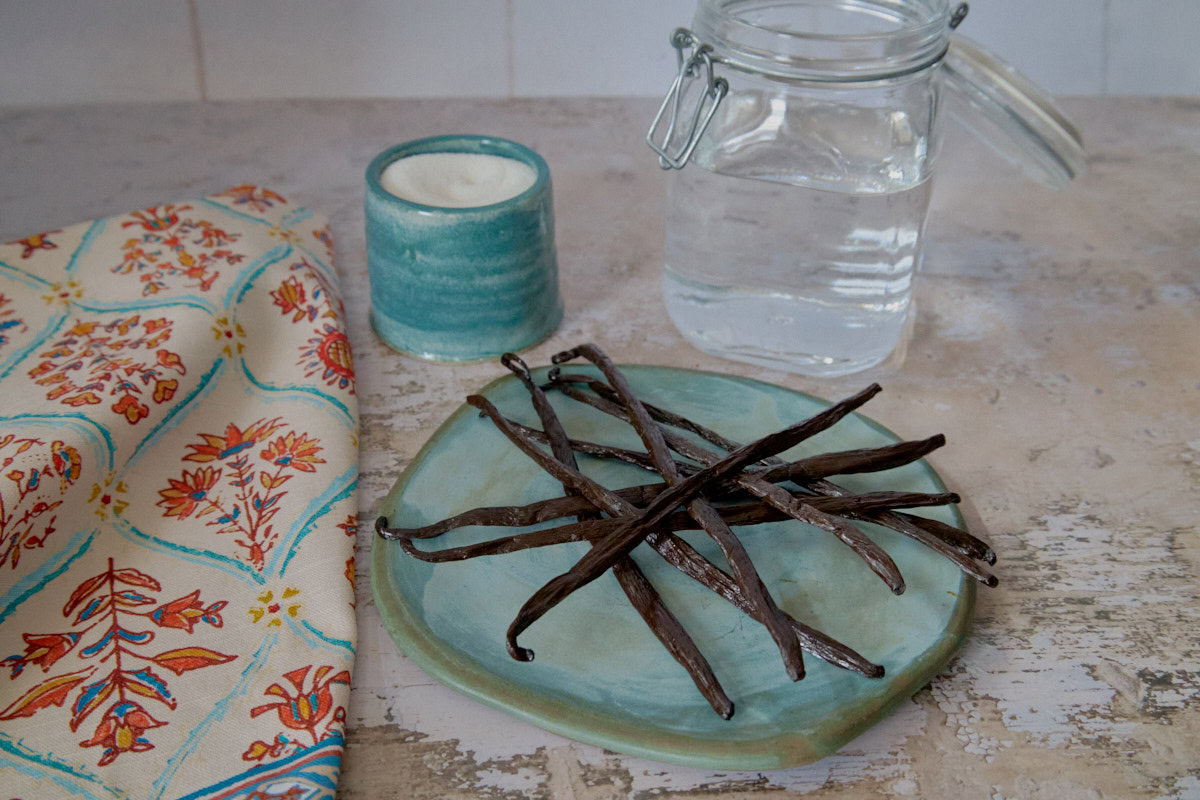
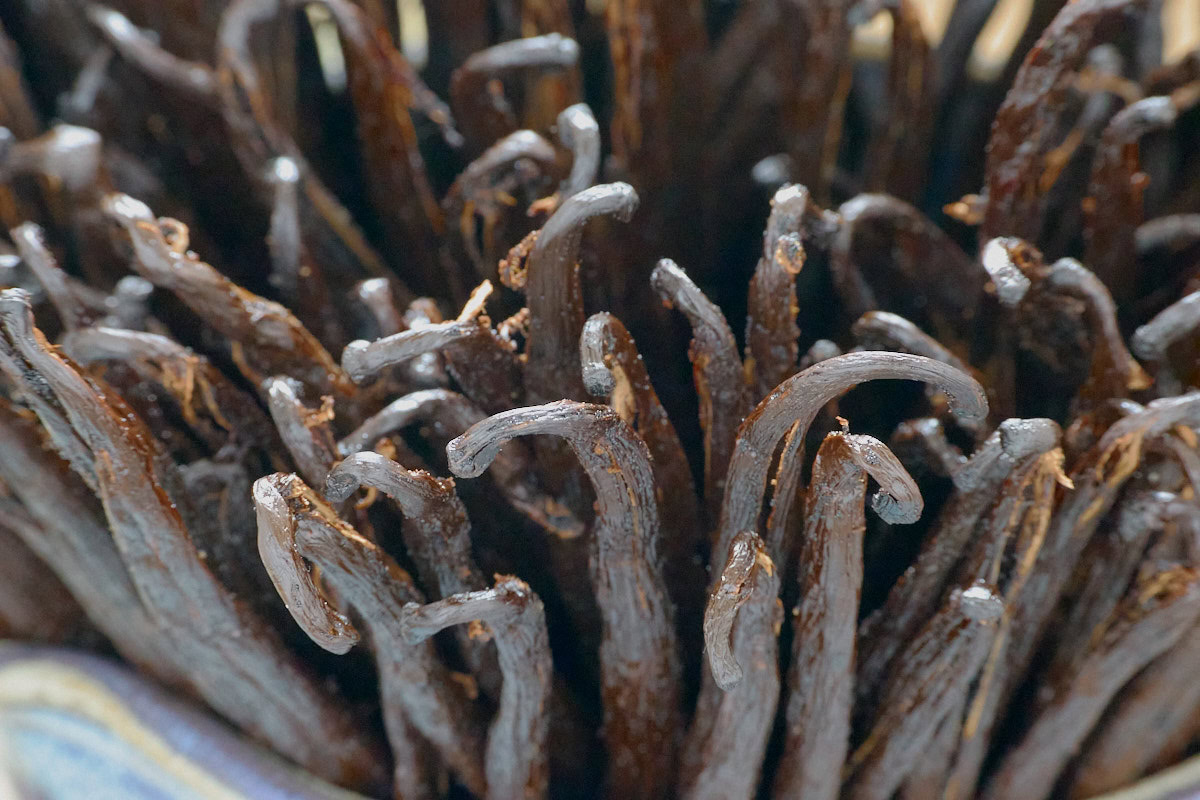
- Vanilla beans: I recommend using high quality vanilla beans with a good moisture level and thickness. Since bean sizes can vary widely, please make sure to have a digital scale on hand so you can measure your quantity accurately. I've used these grade A, certified organic 6-8 inch (15-20 cm) vanilla beans from Madagascar. They're fragrant, plump, moist, and have wonderful flavor. Note: One 2-ounce (56.7 g) package is just enough for one liter of this liqueur when using high-quality beans like these. If you plan to make multiple batches or want extra intensity, the 4-ounce package is more economical per gram.
See recipe card for quantities.
📒Step by step instructions & photos
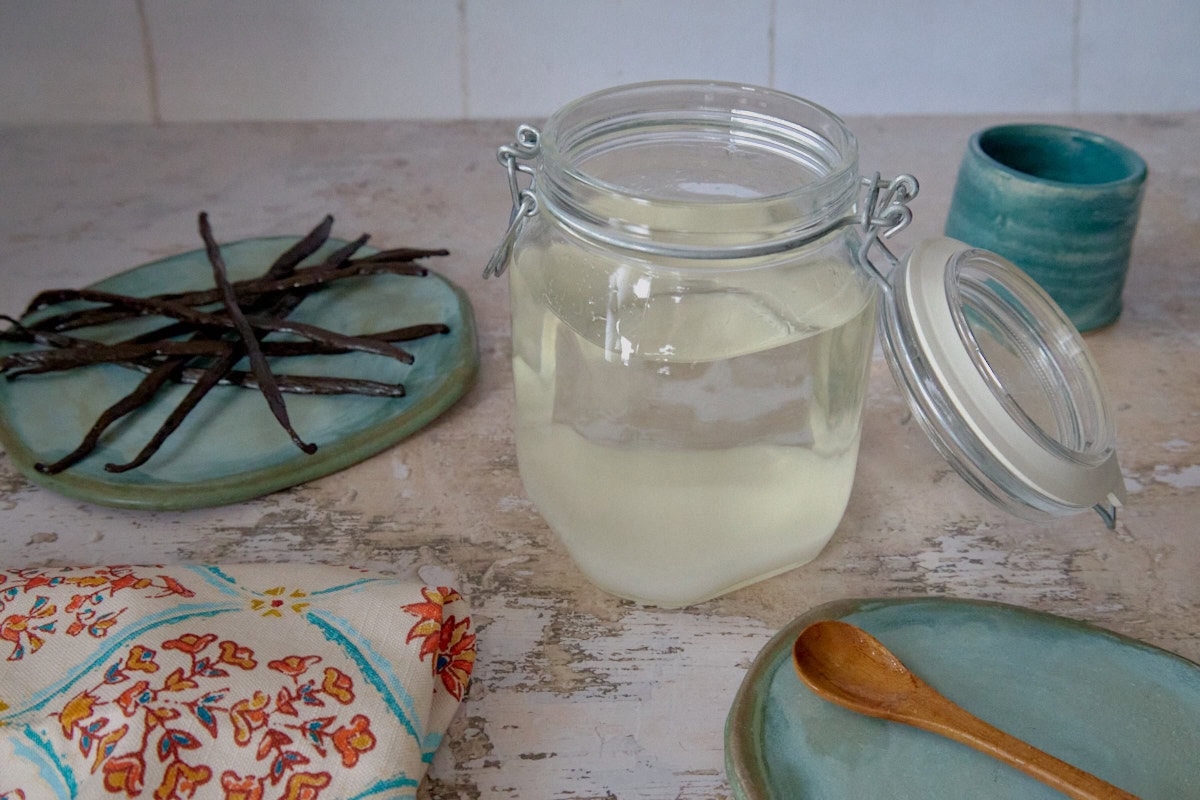
- Step 1: Pour the vodka into an airtight 2-liter jar. Add the granulated sugar.

- Step 2: Split each vanilla bean lengthwise with a knife. Scrape out the seeds.

- Step 3: Add the seeds directly into the jar. Add the scraped pods as well.

- Step 4: Stir in the sugar and seal the jar. Shake gently for 20 to 30 seconds. Store in a cool dark place. For the first week, shake once daily. For weeks 2-4, shake 2-3 times per week. After 1 month, shake occasionally.
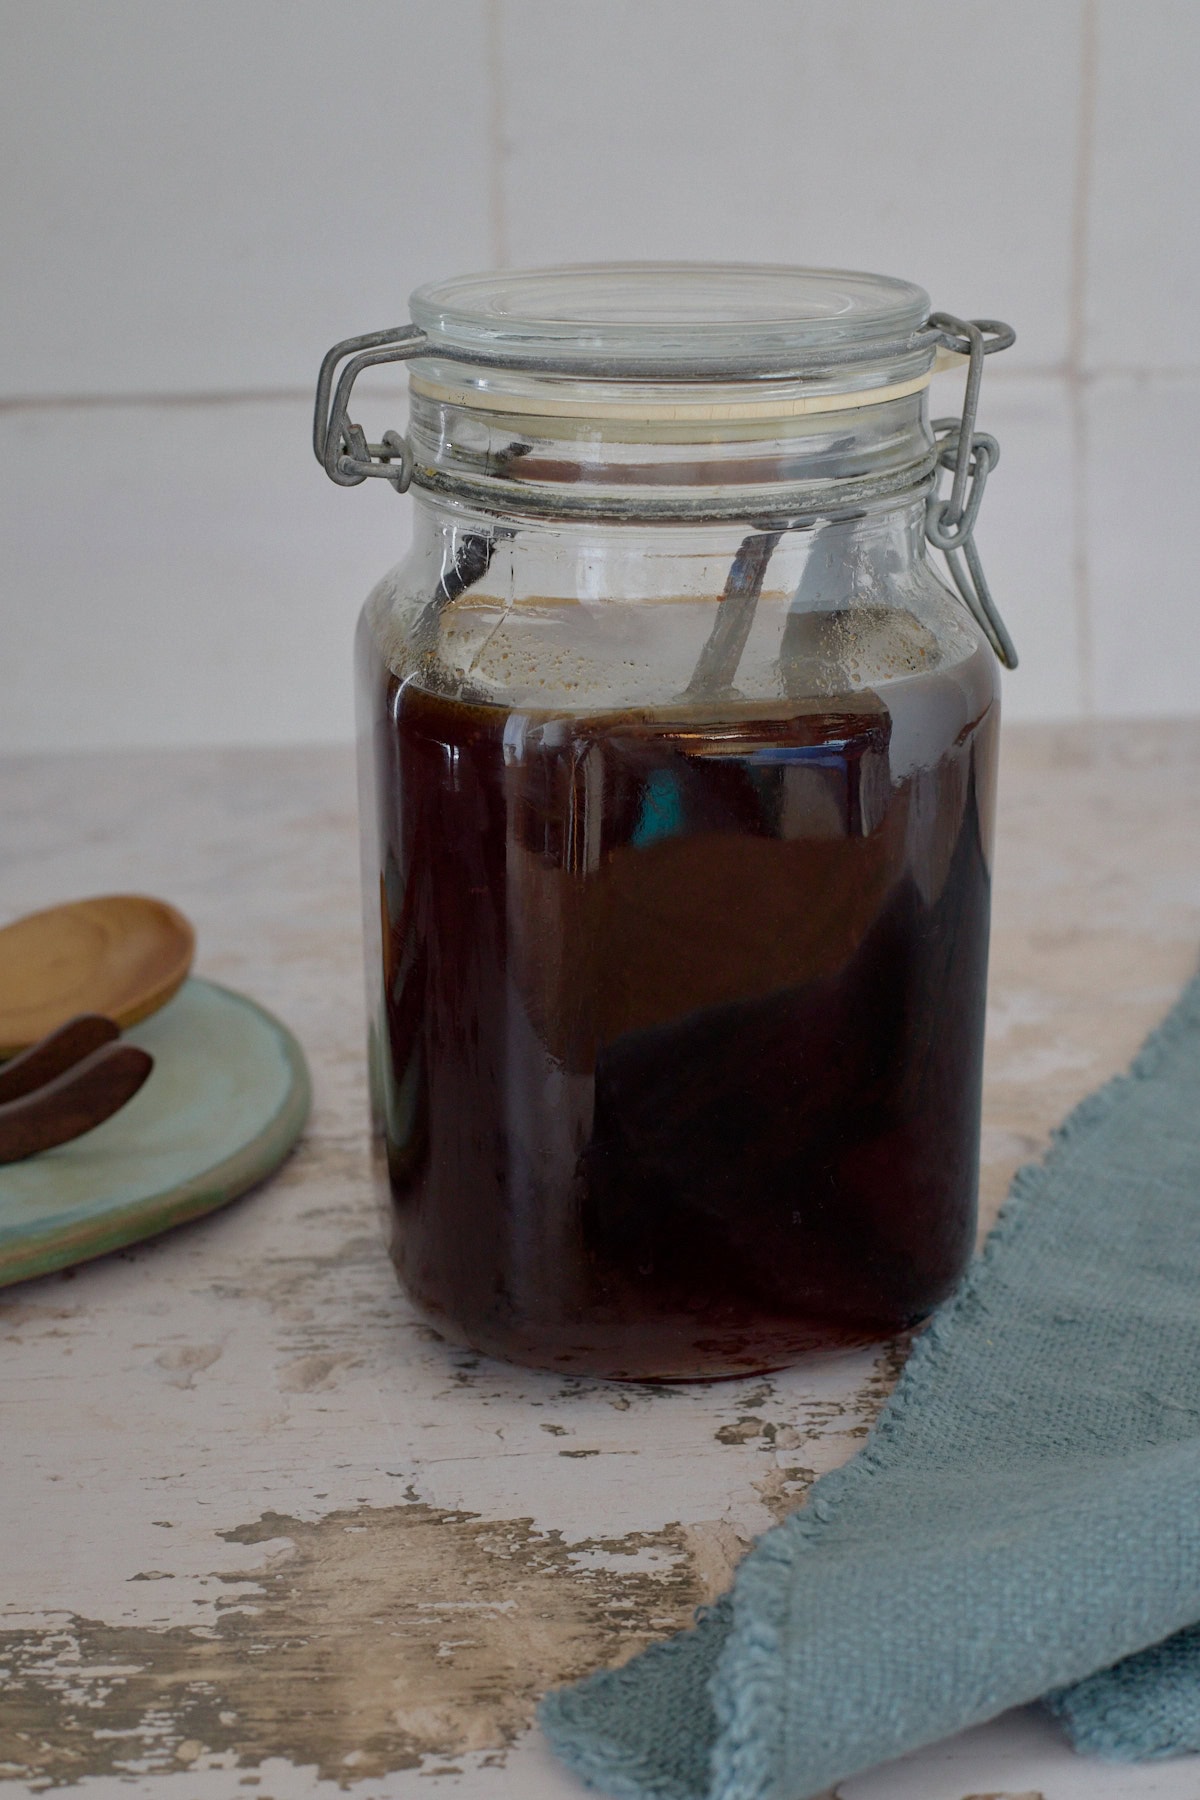
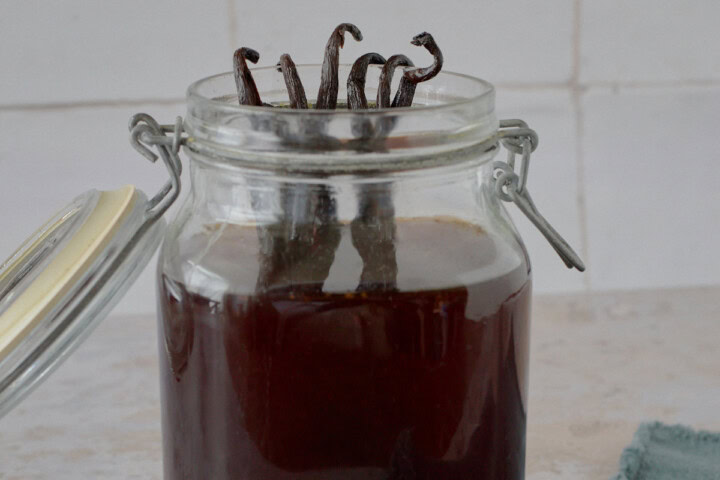
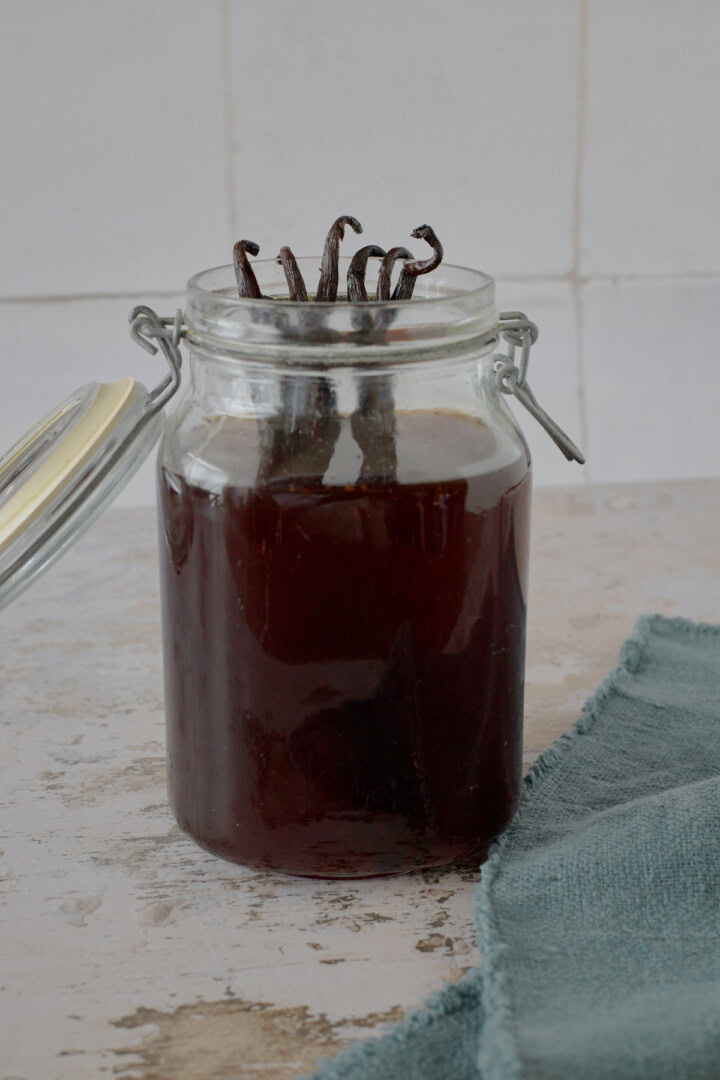
- Step 5: Steep in a cool dark place at about 60 to 70°F (16 to 21°C) for a minimum of about 3 months and up to a year, tasting occasionally until the liqueur has reached your preferred level of flavor and smoothness. The liquid will darken to a deep amber color over time.

- Step 6: Remove the vanilla beans and set aside. Using a clean lint-free cloth (such as a cotton handkerchief) or a folded paper towel, lightly dab the surface to lift away any accumulated oils. The desirable vanilla seeds will remain suspended in the liqueur. Add the vanilla beans back to the jar until you're ready to pour the liqueur into a bottle.

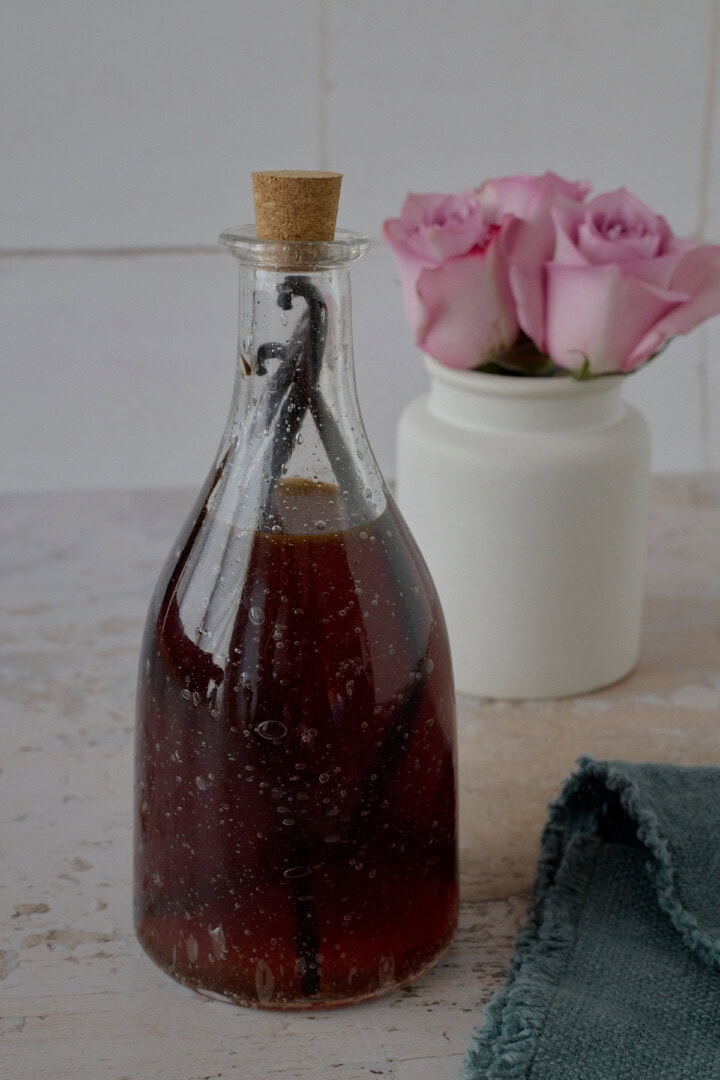
- Step 7: Remove the vanilla beans and set aside. Using a funnel, transfer the finished liqueur into a 1-liter bottle. Add some vanilla beans back into the bottle for appearance and continued aging. Save the remaining beans, allowing them to dry to flavor sugar or baked goods. Keep the bottle tightly sealed.

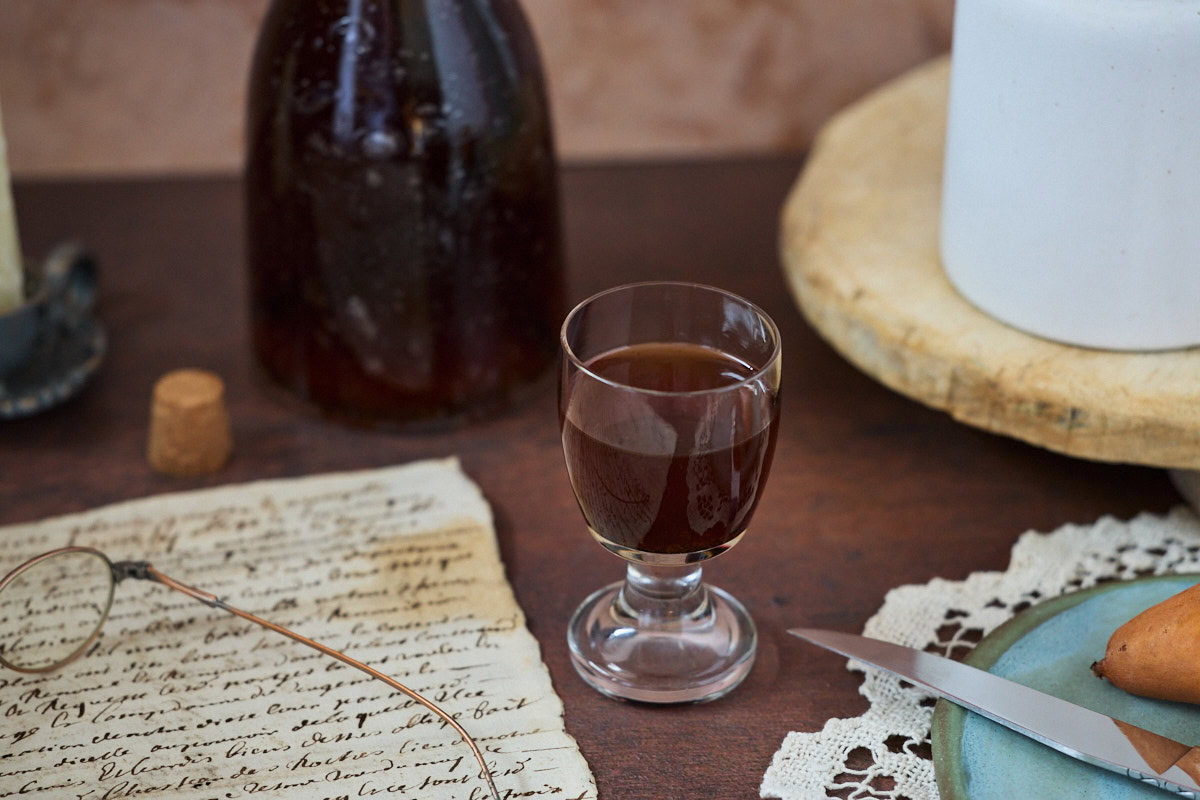
- Step 8: Enjoy your elegant, enchanting vanilla bean liqueur!
💡Tips for success
Vanilla beans: Vanilla flavor comes from both the seeds and the bean pods. Because the size and weight can vary widely, it's important to measure them by weight with an inexpensive digital scale to have an accurate quantity for this recipe.
Sugar: Use sugar directly rather than a simple syrup, and adjust according to your liking. The use of direct sugar instead of a simple syrup prevents dilution, allows a richer mouthfeel, and lends more character. The sugar will dissolve fully within the vodka. Just make sure to stir or shake it while keeping in a cool, dark place, preferably at about 60 to 70°F (15 to 21°C) while steeping.
Vodka: Use a neutral 80-proof (40% ABV) vodka so that the vanilla flavor will really shine in this liqueur. A good, mid-range quality vodka will work well.
🥣Equipment
- Digital scale: This is especially important for this recipe, so you'll be able to weigh your vanilla beans to ensure an accurate quantity. And you can weigh the sugar quantity this way as well. Digital kitchen scales are inexpensive, wonderfully helpful, and they reduce the amount of dishes you'll need to clean up after cooking.
- Airtight 2-liter (minimum) glass jar: For steeping the liqueur
- Cutting board and sharp knife: For splitting vanilla beans and scraping out the seeds
- Mixing spoon: To stir in the sugar
- Funnel: To help pour the liqueur from the jar into the serving bottle below
- 1-liter swingtop or other airtight bottle: To store the finished liqueur

⏲Make ahead and storage
Make ahead
The minimum timeframe I recommend for steeping this homemade vanilla liqueur is 3 months. And it'll only get better from there. By 12 months, it should develop a deep, nuanced flavor profile and rich dark color. You can serve it whenever you feel it's ready.
Storage temperature
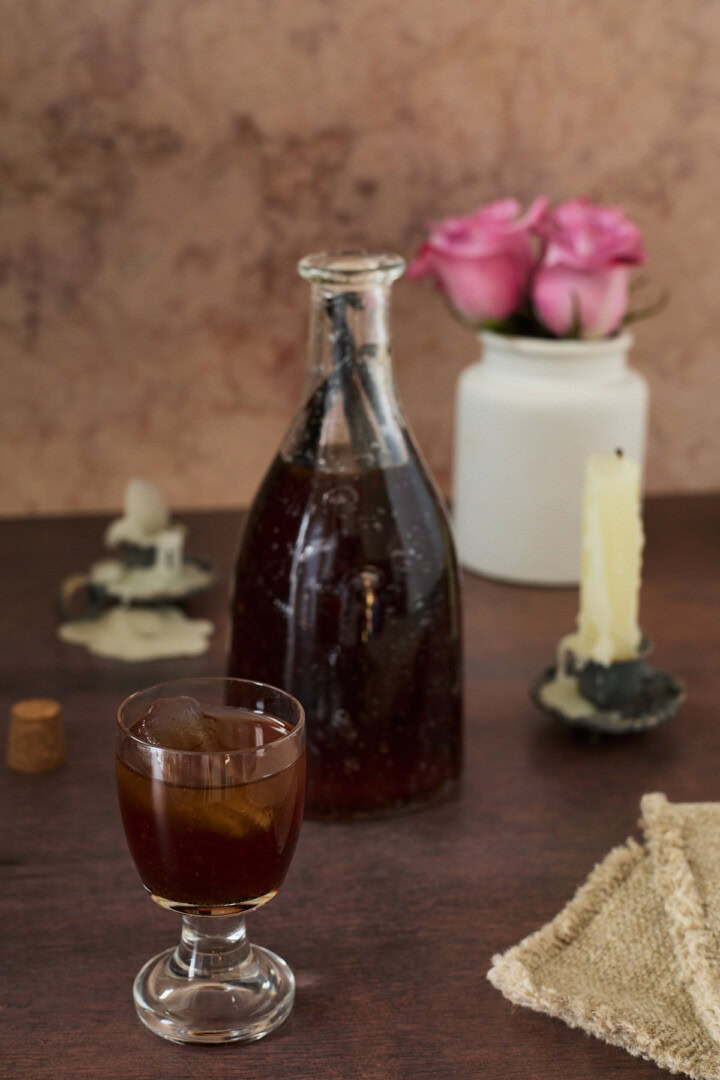
Because the finished liqueur remains around 35% alcohol by volume, it's shelf-stable and refrigeration isn't a necessity. You can keep it in an airtight bottle at room temperature or in the fridge or freezer. The alcohol content will prevent the liqueur from freezing solid. And at very cold temperatures, it will have a slightly thicker, more luxurious mouthfeel. If you store your liqueur at room temperature, I recommend serving it into cordial glasses over ice.
🍲Serving suggestions
After-dinner drink
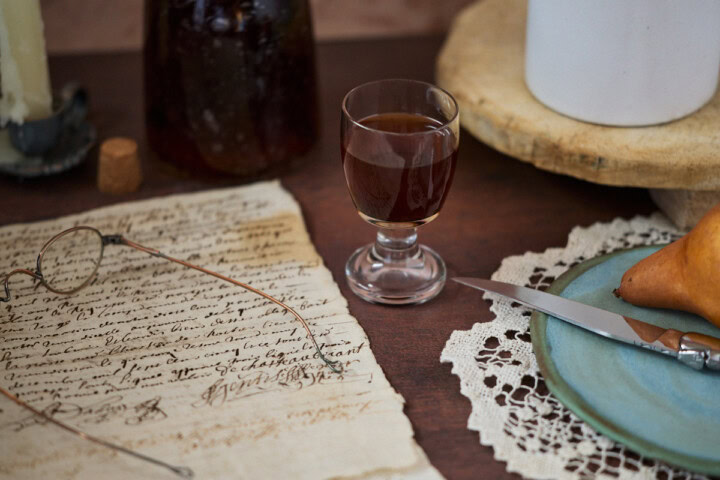
Liqueur de vanille (also known as a crème, meaning a sweetened liqueur) is most commonly served as a digestif after meals. This is because this type of drink is rich, fragrant, sweet, and best appreciated in small quantities for easy sipping.
I find this liqueur best served well-chilled, either straight out of the freezer or over ice in a small cordial glass.
Cocktails, desserts
This flavorful French vanilla liqueur would also be wonderful in cocktails, added to coffee, poured over some plant-based ice cream, or drizzled over fresh fruit.
🥃More homemade liqueurs to try
If you like this recipe, I hope you'll love some of my other botanical liqueurs, also "fait maison" (homemade)! Please check out:
- Lavender liqueur (liqueur de lavande)
- Lemon verbena liqueur (liqueur de verveine)
- Crème de menthe (mint liqueur), 6 variations reviewed
- Vin d'orange (orange, lemon, spice, and herb-infused rosé wine), 9 versions, 30 taste tests
I love developing botanical liqueurs and cocktails, and I always have several new varieties steeping. If you try these, I'd love to know what you think!

❓FAQ
No, vanilla extract is created specifically for baking, and contains no sugar. Because this liqueur is created for sipping or drizzling over desserts, it will not behave the same way as vanilla extract in baking. And much of the deep and nuanced vanilla flavor would be lost in baking.
Yes, traditional liqueur de vanille is made with only vanilla beans, vodka, and sugar, and naturally contains no animal-derived ingredients.
In French drink nomenclature, a "crème" liqueur does not contain cream. This term refers to an elevated sugar content, which gives a liqueur a rich texture and smooth mouthfeel. Some classic examples of this are crème de menthe (mint liqueur), crème de cacao, and crème de cassis (blackcurrant liqueur).
Vanilla is a classic ice cream flavor, and this liqueur will also pair beautifully with other ice cream flavors such as chocolate, coffee, hazelnut, pistachio, or caramel. Choose a plant-based option with a clean, simple flavor so the vanilla maintains its delightful presence.

✨More cooking and gardening posts you'll love
Looking for other global heirloom gardening and cooking posts? Try these:
✏️Did you make this recipe for how to make vanilla liqueur?
I'd love to know about your experience. Please let me know in the reviews and comments below!

Liqueur de Vanille Fait Maison (Vanilla Bean Liqueur)
Ingredients
- 750 mL neutral vodka, 40% ABV (80-proof)
- 60-70 g whole vanilla beans, 60 g for plump beans, and 70 g for drier beans, about 10-14 large 6-8 inch / 15-20 cm beans
- 1 cup (200 g) granulated sugar
Instructions
Add vodka and sugar
- Pour the vodka into an airtight 2-liter jar. Add the granulated sugar.
Prepare the vanilla beans
- Split each vanilla bean lengthwise with a knife. Scrape out the seeds, and add them directly into the jar. Add the scraped pods to the jar as well. Both seeds and pods are essential for full flavor.
Dissolve the sugar
- Stir in the sugar and seal the jar. Shake gently for 20 to 30 seconds. Store the jar in a cool, dark place.
- For the first week, shake once daily. For weeks 2-4, shake 2-3 times per week. After 1 month, shake occasionally. If the sugar settles to the bottom, keep shaking the jar. It'll fully dissolve over time.
Steep
- Steep at about 60 to 70°F (16 to 21°C) for a minimum of about 3 months and up to a year, tasting occasionally until the liqueur has reached your preferred level of flavor and smoothness. The liquid will darken to a deep amber color over time. And the aroma will become intensely floral, with subtle woody and caramel notes.
Optional: remove surface oils for a cleaner flavor
- After steeping, you may notice a very thin layer of vanilla oils floating on the surface. This is completely normal, and removing this layer can improve clarity and reduce any slight bitterness. Remove the vanilla beans, squeezing out the excess liquid from each one. Set the beans aside.
- Using a clean lint-free cloth (such as a cotton handkerchief) or a folded paper towel, lightly dab the surface of the liquid and lift away the oil layer. Repeat with a fresh section of the cloth as needed. The desirable vanilla seeds will remain suspended in the liqueur. This step is optional but recommended for the cleanest flavor. Add the vanilla beans back to the jar until you're ready to pour into a bottle.
- You can also optionally strain the liqueur if you'd like, through a fine-meshed fabric or cheesecloth. I don't do this, as I prefer to leave the vanilla seeds in the finished liqueur for full vanilla character.
Transfer to bottle
- Remove the vanilla beans and set aside. Using a funnel, transfer the finished liqueur into a bottle. Add your desired number of vanilla beans back into the bottle for appearance and continued aging. Save the remaining beans, allowing them to dry to flavor sugar or baked goods. Store tightly sealed.
Notes
- A digital scale is especially important for this recipe, so you'll be able to weigh your vanilla beans to ensure an accurate quantity. And you can weigh the sugar quantity this way as well.
- If possible, use grade A ("gourmet") organic vanilla beans that are soft, thick, and flexible from a high-quality producer. Grade B beans can be used, but may necessitate additional steeping time.
- Use an airtight steeping jar of at least 2 liters to hold all of the contents and allow for shaking. A 1-liter airtight bottle will hold the finished liqueur.
- The final alcohol content of this liqueur will be around 35% ABV, depending upon the vanilla bean absorption and final volume. Because of this, refrigeration isn't strictly necessary.
- For the smoothest and roundest flavor, serve chilled. Store the bottle at room temperature and pour over ice, or keep it in the fridge or freezer so it's ready to serve. The alcohol content will prevent the contents from freezing solid, and the texture will be luxuriously thick when very cold.

Leave a Reply