
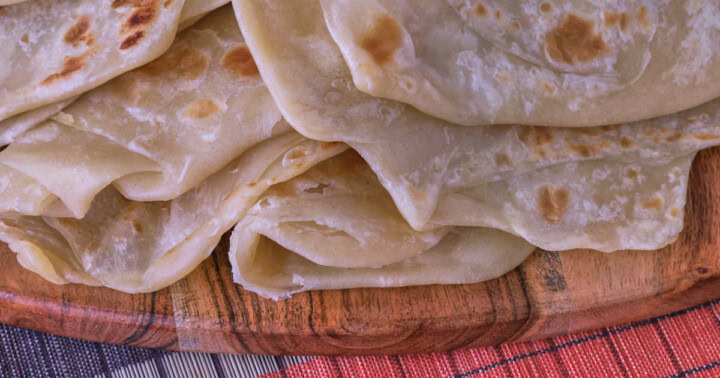


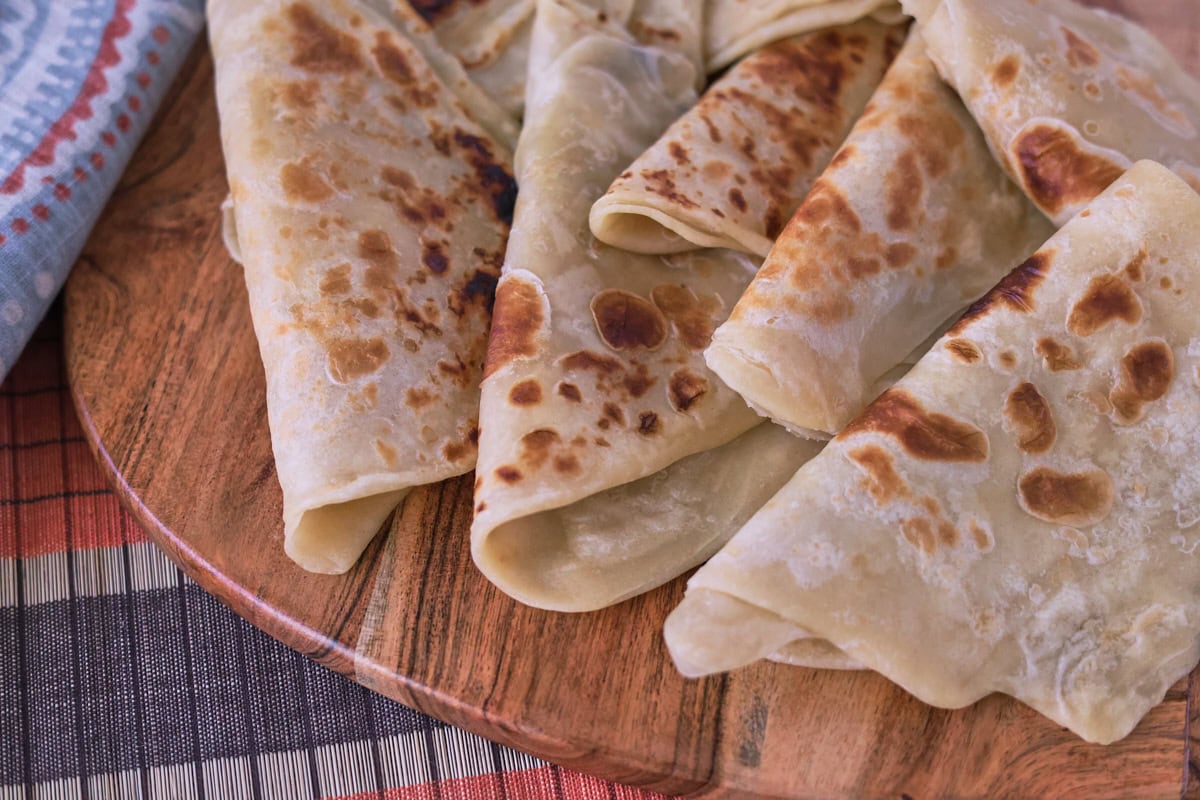
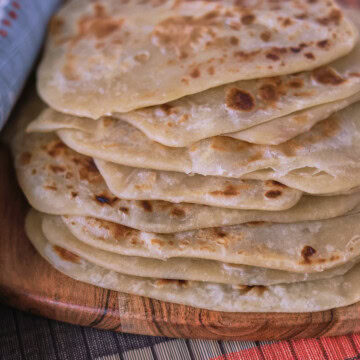
🌱 This flatbread from Mauritius is so tender, flaky, and soft, with layers that melt in your mouth. And it's naturally vegan. My family is thrilled when I make it, and they moan in gustatory delight with each warm and pillowy bite. And my friends have found it equally captivating, loving it when I bring it to gatherings. This recipe takes just a little more effort than a simple flatbread. There are a few folds and rollouts to get this amazingly light and fluffy texture. But it's easy to do, and it's so worth it. I really hope you'll try this Mauritian Farata: Soft, Flaky, Layered Flatbread Recipe!

There's just something about homemade flatbread that makes it exponentially better than anything you can buy at the store. And when you serve it still warm, it's absolute heaven! This is a really special bread, and I'm grateful to have developed a version of this Mauritian classic that my family treasures.
Jump to:
💕Why this recipe is special
A Mauritian tradition
Farata is a flatbread from the island nation of Mauritius in the Indian Ocean, on the southeast coast of Africa, east of Madagascar. Mauritian food traditions have been shaped by cultures from Africa, Europe (mainly France), India, And China, with this fusion resulting in Creole cuisine.
Farata is closely-related to the Indian flatbread paratha, and is a well-known flatbread in Mauritius along with roti and dal puri. In French, farata is known by its flaky layers with the term farata feuilleté.
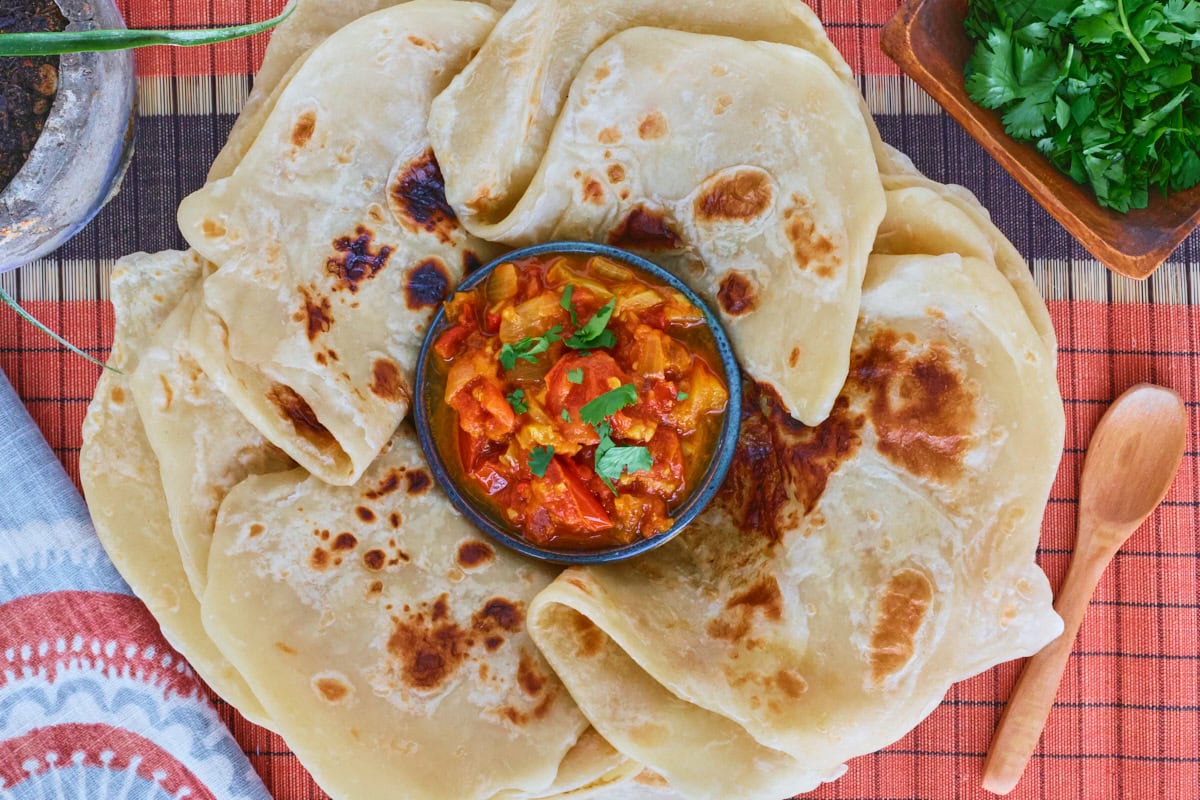
A common street food in Mauritius is roti chaud, which is farata wrapped around some rougaille (spelled "rougail" in the nearby island of Réunion), a mouthwatering chunky, rustic, and warm tomato sauce. It's shown in the photo below. You can find the recipe in my post: Rougaille (Rougail) Tomate: Hearty, Chunky Mauritian Sauce. I know you'll love this wonderful sauce and flatbread combination as much as we do.
In our house we dip fresh, warm farata straight into the rougaille sauce. It's ridiculously satisfying and so special to eat these foods together at a gathering.
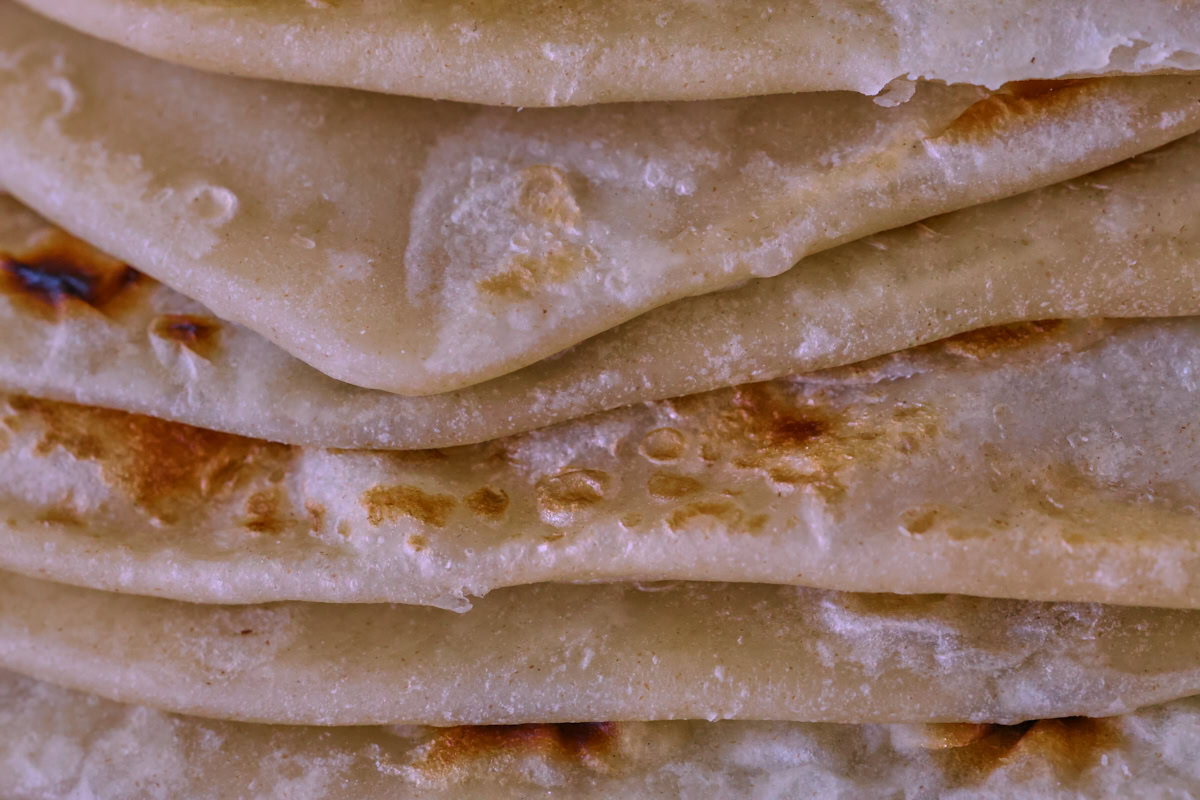
Incredibly soft and flaky layers
Because you'll be making the effort to fold the dough a few times with a brush of oil and a sprinkling of flour to make layers, farata is an incredibly flaky, fluffy, and chewy flatbread. I've included two rounds of rolling and folding in the recipe to make them especially flaky. If you'd like, you can just do one round. The breads will be a little denser with fewer layers, but will be just as soft and delicious. It's easy to make either way!
A huge crowd pleaser
Everyone who tries this bread loves it. It always gets rave reviews and exclamations of deep eating comfort. To me, there's no better feeling than making people deliriously happy with rustic homemade food.
📓Ingredient notes
The ingredients are simple and easy to assemble:

- Flour: I use unbleached all purpose flour.
- Salt: I've included a flavorful amount of salt in this recipe. No one wants tasteless bread! Fine sea salt or table salt work well.
- Baking powder: This isn't traditional in the original versions of farata, but some cooks in Mauritius use it. I find that it gives the bread a fluffier, lighter texture.
- Oil: Vegetable, sunflower, or canola oil are traditional for this dough. Some cooks brush their farata with ghee, which is available in a vegan version. If you try this, please let me know how it turns out!
- Water: Please make sure to add water at 185°F / 85°C as specified in the recipe. It makes all the difference in making the dough velvety smooth and soft! Temperatures below and above this make the dough too tough or too soft. A digital thermometer makes it easy to measure the the temperature.
See recipe card for quantities.
📒Step by step instructions & photos

- Step 1: In a mixing bowl, add flour, salt, and baking powder. Stir to combine and add the oil. Stir again to mix.

- Step 2: Gradually add the hot water (185°F / 85°C) while stirring to form a shaggy dough.
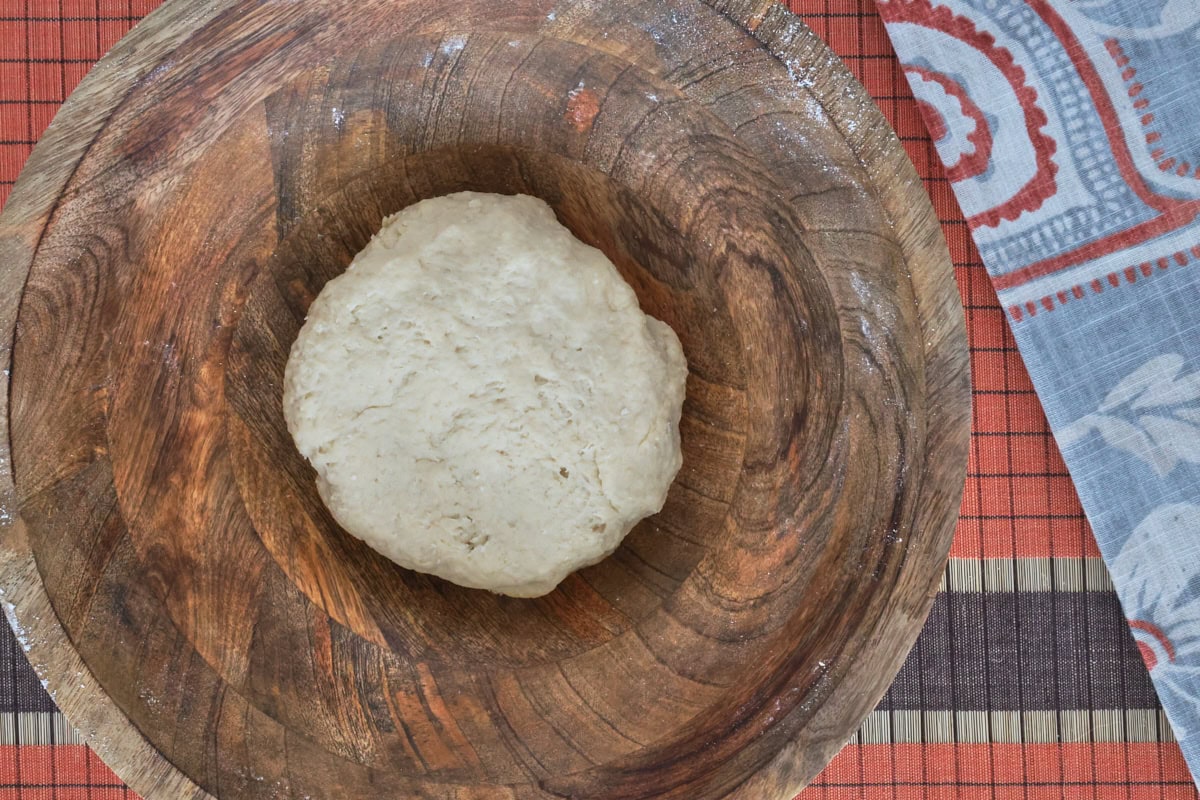
- Step 3: When the dough is cool enough to handle, knead it for 3-4 minutes by hand. (This works better than a stand mixer here, where it's easy to overmix it.) The dough may be irritatingly sticky, but please don't add more flour. You don't want the dough to be too dense after you sprinkle flour between the layers later. It's worth it; you can do it!

- Step 4: Lightly oil the surface of the dough, cover with plastic wrap or a lid, and let it rest at room temperature for 20 minutes.

- Step 5: Using a knife or bench scraper, cut the dough into 8 equal pieces at about 75-80 g each. Keep the remaining dough covered as you work. Roll out each piece very thinly (9-10 inches / 23-25 cm).

- Step 6: Brush with a very thin sheen of oil and sprinkle with a pinch of flour. Fold one side into the middle. Then fold the other side over it into thirds, like a letter, into a long strip.
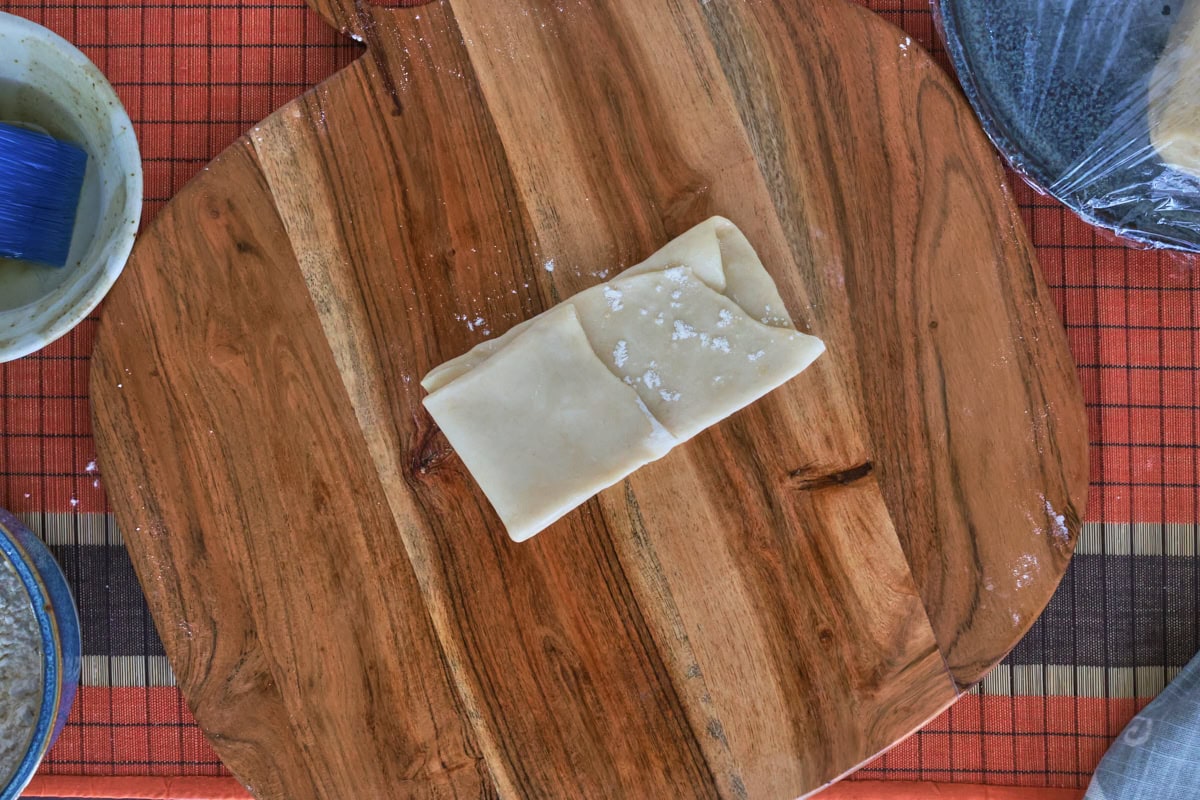
- Step 7: Lightly brush the strip with oil and sprinkle with another pinch of flour. Fold one end of the strip over the middle, then fold the other end over the first, again into thirds. You'll now have a square of dough.

- Step 8: Repeat until you have 8 layered squares. Repeat the rolling, oiling, and folding in steps 5-7 one more time for extra-flaky dough. (This is optional, but it gives the bread double the flaky and tender layers.) Start with your first square and cover the rest as you work.

- Step 9: Gently roll out each piece (to preserve the layers) one more time to 7-8 inches (18-20 cm). Cover or store between rounds of parchment paper as you go. Or you can roll them out one at a time before cooking.

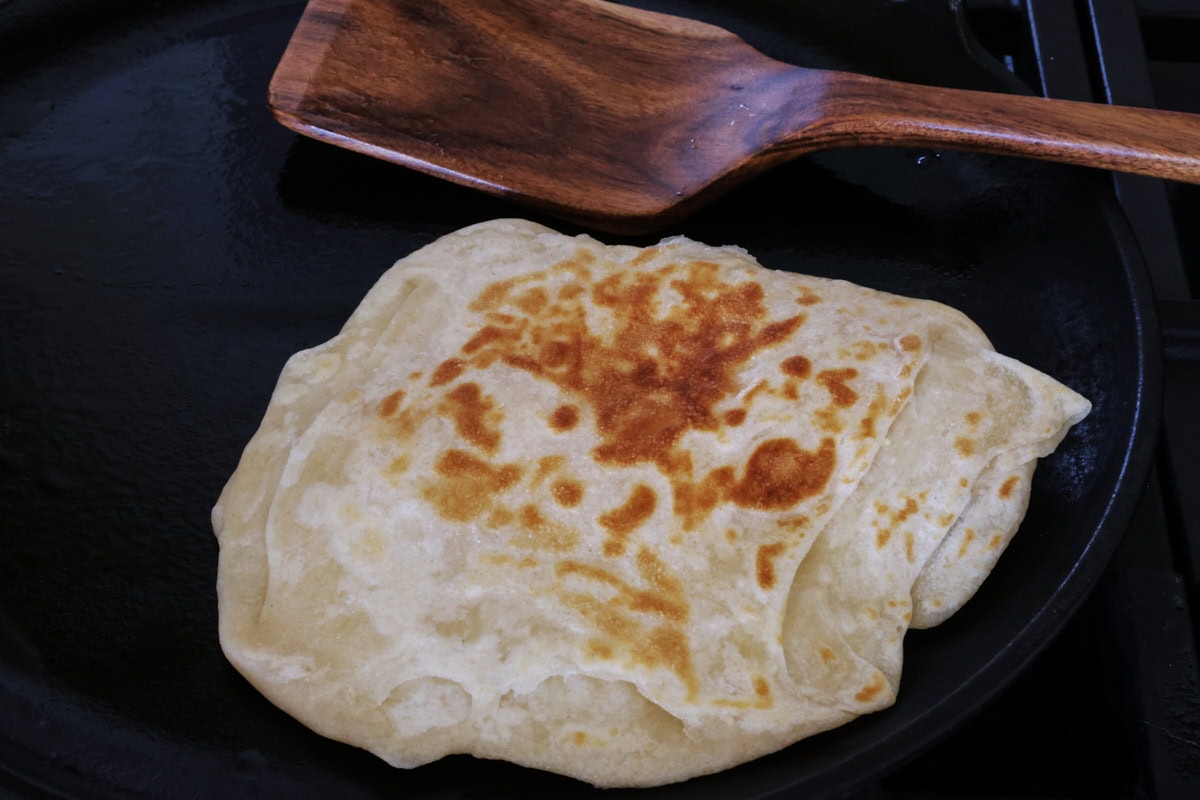
- Step 10: Heat the skillet to medium. Place the first side on the pan without adding oil. After 30-40 seconds, look for bubbles (as in the photo above) to start forming. Check for golden spots on the bottom before flipping.

- Step 11: Flip the farata onto the second side. Now brush the top with a thin layer of oil. Wait 20-40 seconds. The timing will be easy after the first few breads!
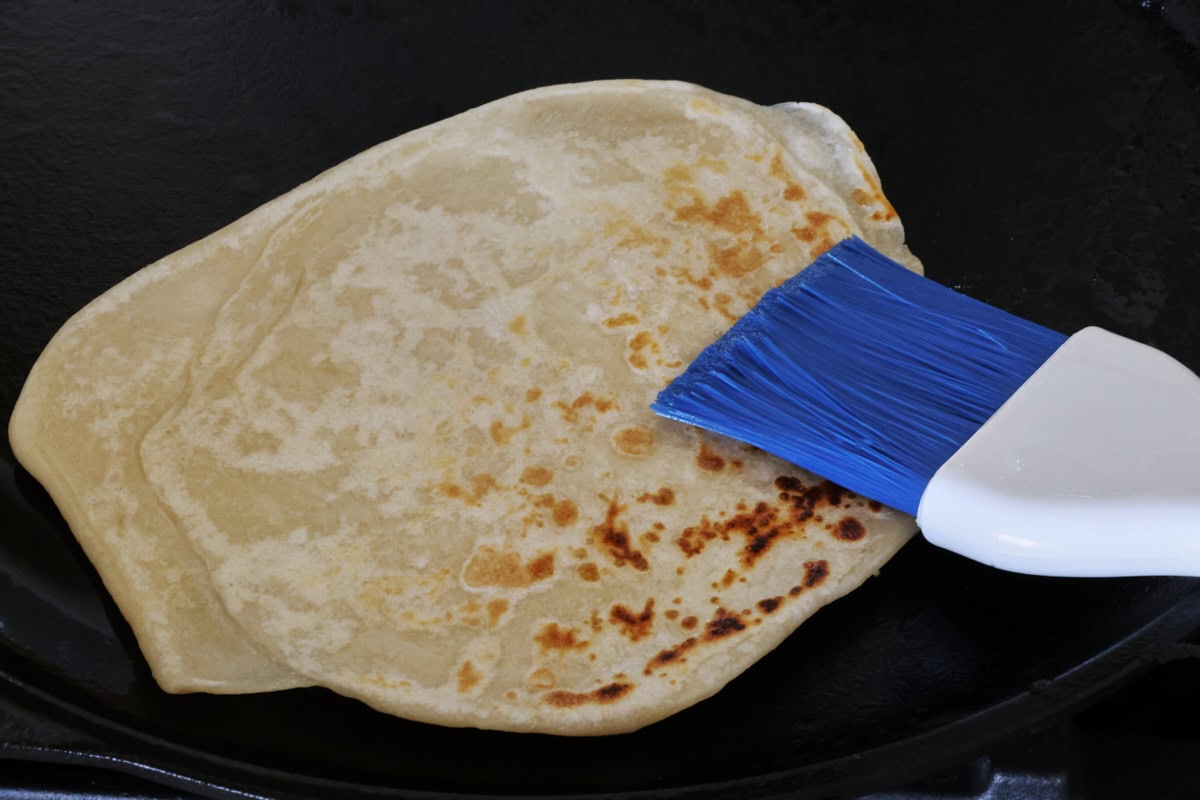
- Step 12: Now flip again and oil this side. Wait another 20-40 seconds. Look for beautiful puffing up of the breads as you do your flips! (But it's ok if this doesn't happen.)
- Step 13: Flip one last time to let the oil cook on the surface. After 20-40 more seconds, remove the farata with a spatula and stack in a towel or flatbread warmer as you cook the rest.
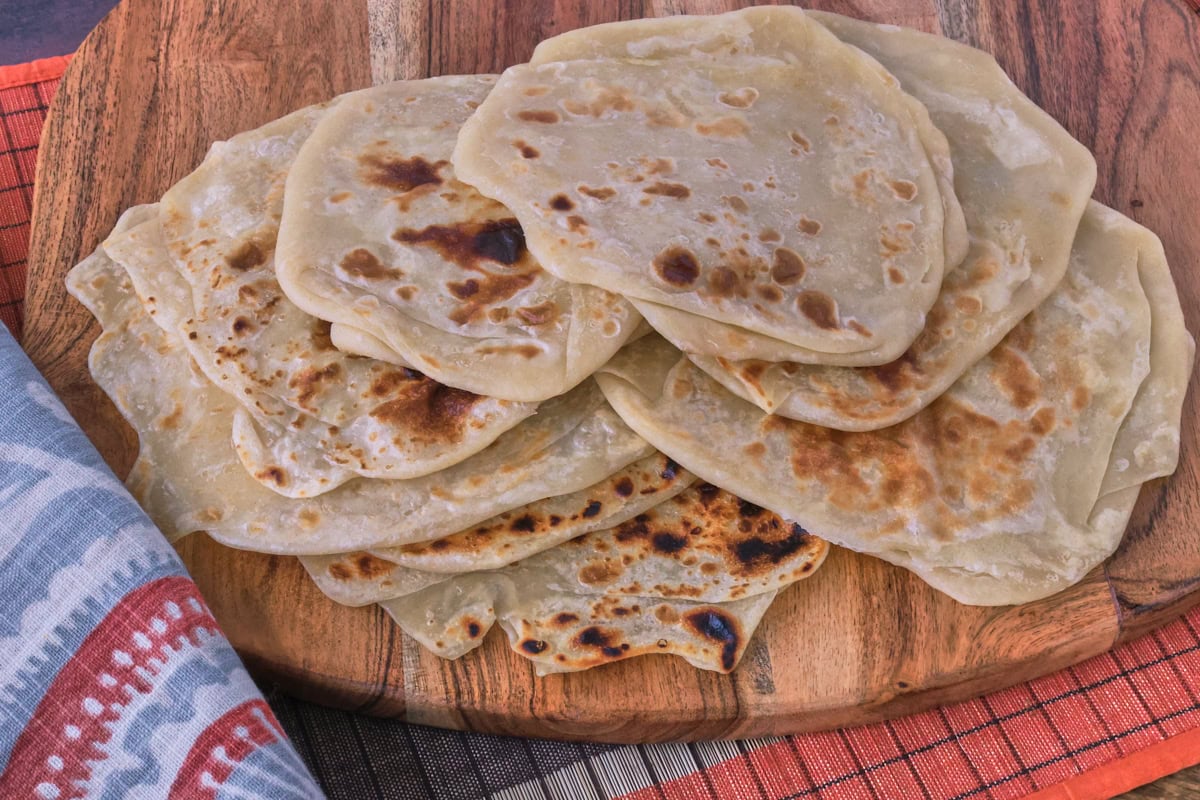
- Step 14: Enjoy your beautiful farata flatbreads! They're especially delicious while still warm.
Hint
Please make sure to measure the heat of the water that you add to be 185°F / 85°C. A digital thermometer makes this easy. And it'll come in handy whenever you make yeasted breads too! I've tested water that's colder or hotter, but this really is the optimal temperature to give the bread the perfect level of softness.
💡Tips for success
Extra round of rolling and folding for extra flakiness
If you'd like your farata to be extra flaky and layered, make sure to do the second round of rolling, folding, oiling, and flouring. It doesn't take much longer, is easy to do, and it really makes a difference in the number of tender and fluffy layers you'll have in the finished bread.
Sticky dough is ok
Please don't get frustrated if the dough is ridiculously sticky and all over your hands as you're kneading it. This makes me mad too, but it's just for a few minutes. So I know you can make it through! It's so worth it in the end. If you add too much flour in the beginning, and then dust with flour again between layers, the resulting bread will be too heavy and dense. And we don't want that. After you've oiled and rested the kneaded dough, it should have a nice, velvety, non-sticky texture.
🔀Substitutions
Flour
All-purpose flour works really well here. If you'd like to try a small proportion of bread flour (up to 20%), it should add more elasticity and chew, but it can make rolling harder. And whole wheat flour would produce a denser, less flaky result.
Oil
I'm using sunflower oil. Canola and vegetable oil are also traditional in making farata. Olive oil is not traditional, but should work if that's what you have. You can also try vegan ghee to mimic the ghee that's often used in making farata.
Baking powder
You can omit this if you'd like, as not all Mauritian cooks use this. But I find that it helps to make a more pillowy, fluffy texture, which we love.
🍶Variations
Spiral rolling method
Instead of the letter and square folding in this recipe, Some Mauritian cooks roll the rolled-out dough into a tube, add oil and flour, and then roll the tube into a spiral. Then they add more oil and flour and roll out again.
This variation accomplishes the same thing, which is multiple flaky layers. I've tried both, and I enjoy using both methods. Use whichever one works best for you.
Gluten-free
I haven't tried this with gluten-free flour, and I suspect that it might not work as well in this case. If you're looking for gluten-free flatbreads, though, I have a recipe for Easy Fluffy Potato Tortillas (Vegan, Gluten-Free) that are really chewy, tasty, and fabulous.
Garlic and herb farata
Try adding some minced garlic and fresh herbs to the oil for brushing your farata. If you do, please let me know how it turns out in the comments below!

🥣Equipment
- Digital scale: I always recommend using this for every recipe. It makes your measurements more accurate, and results in fewer dishes to clean up when you're done!
- Mixing bowls and spoons
- Digital thermometer: This is to make sure the water is at the right temperature for making the dough. And then you can use it again whenever you're making yeasted breads!
- Bench scraper or knife: To divide the dough.
- Rolling pin: To roll out the dough.
- Small bowls: For extra flour and oil for rolling and cooking
- Basting brush: I like this one. (It's included in the step-by-step instructions.) Although it's plastic, it's not made of animal hair. And the bonus is that the blue bristles are easy to see if one falls off into your food!
- Measuring cups and spoons
- Parchment paper rounds: (Optional) to separate the rolled-out dough pieces.
- Tawa (sometimes called tava) from Mauritius or another heavy skillet: I use this cast iron comal that works really well.
- Spatula: For flipping the farata.
- Flatbread warmer: I like this one, and I have a second one for large batches. Or you can wrap them in a kitchen towel as you cook them.
⏲Make ahead and storage
Make ahead
You can rest the dough, covered and at room temperature, for up to 4 hours.
Refrigerate
The dough can go in the fridge overnight in an airtight container. Just bring it back to room temperature before rolling. The cooked farata can keep for 2-3 days in the fridge, wrapped well with a towel inside of a bag or in plastic. Reheat with a dry skillet or in the microwave.
Freeze
You can freeze the dough, the rolled-out disks between parchment paper rounds, or the cooked breads by wrapping well. Reheat from frozen directly on a dry skillet or in the microwave.
🍲Serving suggestions
Dipping with rougaille / rougail
This chunky, hearty, flavorful tomato sauce is a fantastic way to enjoy farata, both authentically in Mauritius and at home with family and friends. Please check out my post Rougaille (Rougail) Tomate: Hearty, Chunky Mauritian Sauce for the recipe.
Butter bean curry
Known as cari gros pois in Mauritius, this is classic and delicious street food that is often enjoyed in a vegan version.
Wraps and more dipping options
Use as a wrap filled with grilled vegetables, or top / dip with satini (Mauritian chutney) or achard (aka atchar), which are pickled vegetables.
❓FAQ
They're similar. But roti are generally thinner and plain, whereas farata are layered and flaky.
Yes, it's traditionally vegan (as it is in this recipe) when made with oil. It can also be brushed with ghee, which is available in a vegan version.
This is totally fine! You don't want your dough to be too dense and heavy, especially when you'll be dusting it with more flour in between folds. It's only a few minutes of sticky, gooey kneading. I know you'll make it through this as I have!
I recommend doing this by hand because it's really easy to overmix the dough in a stand mixer. You only need to knead for 3-4 minutes, so it's really easy and quick to do by hand.
You can use any heavy and/or cast iron skillet. I use this comal to make the farata.

✨More recipes you'll love
Looking for other recipes like this? Try these:

✏️Did you make this recipe?
Please let me know in the reviews and comments below!
Mauritian Farata: Soft, Flaky, Layered Flatbread Recipe
Ingredients
Making the dough
- 350 g (2¾ cups) all-purpose flour, plus about 2 tablespoons extra for dusting
- 1¼ teaspoon fine salt
- ½ teaspoon baking powder, optional, but it makes the bread fluffier
- 1 tablespoon (15 ml) sunflower, vegetable, canola, or olive oil
- 1 cup (250 ml) hot water, at 185°F / 85°C
Folding and cooking
- 3 tablespoons (45 ml) sunflower, vegetable, canola, or olive oil, for brushing while folding and cooking
- 2 tablespoons (30 ml) all purpose flour, for dusting between folds
Instructions
Make the dough
- In a mixing bowl, add flour, salt, and baking powder. Stir to combine and add the oil. Stir again to mix.
- Gradually add the hot water (185°F / 85°C) while stirring to form a shaggy dough.
- When the dough is cool enough to handle, knead it for 3-4 minutes by hand. Please see notes below for details.
- Lightly oil the surface of the dough, cover with plastic wrap or a lid, and let it rest at room temperature for 20 minutes.
Divide, roll, and fold the dough
- Using a knife or bench scraper, cut the dough into 8 equal pieces at about 75-80 g each. Keep the remaining dough covered as you work. Roll out each piece very thinly (9-10 inches / 23-25 cm).
- Brush with a very thin sheen of oil and sprinkle with a pinch of flour. Fold one side into the middle. Then fold the other side over it into thirds, like a letter, into a long strip.
- Lightly brush the strip with oil and sprinkle with another pinch of flour. Fold one end of the strip over the middle, then fold the other end over the first, again into thirds. You'll now have a square of dough.
- Repeat until you have 8 layered squares.
Second roll and fold (optional for extra flakiness)
- Repeat the rolling, oiling, and folding one more time for extra-flaky dough. (This is optional, but it gives the bread double the flaky and tender layers.) Start with your first square and cover the rest as you work.
Finall roll
- Gently roll out each piece (to preserve the layers) one more time to 7-8 inches (18-20 cm). Cover or store between rounds of parchment paper as you go. Or you can roll them out one at a time before cooking.
Cook the farata
- Heat the skillet to medium. Place the first side on the pan without adding oil. After 30-40 seconds, look for bubbles to start forming. Check for golden spots on the bottom before flipping.
- Flip the farata onto the second side. Now brush the top with a thin layer of oil. Wait 20-40 seconds. The timing will be easy after the first few breads!
- Now flip again and oil this side. Wait another 20-40 seconds. Look for beautiful puffing up of the breads as you do your flips! (But it's ok if this doesn't happen.)
- Flip one last time to let the oil cook on the surface. After 20-40 more seconds, remove the farata with a spatula and stack in a towel or flatbread warmer as you cook the rest.
- Enjoy your beautiful farata flatbreads! They're especially delicious while still warm.

Leave a Reply